

Trail Cameras and Stand Placement: Where to Hang Both for More Deer Sightings
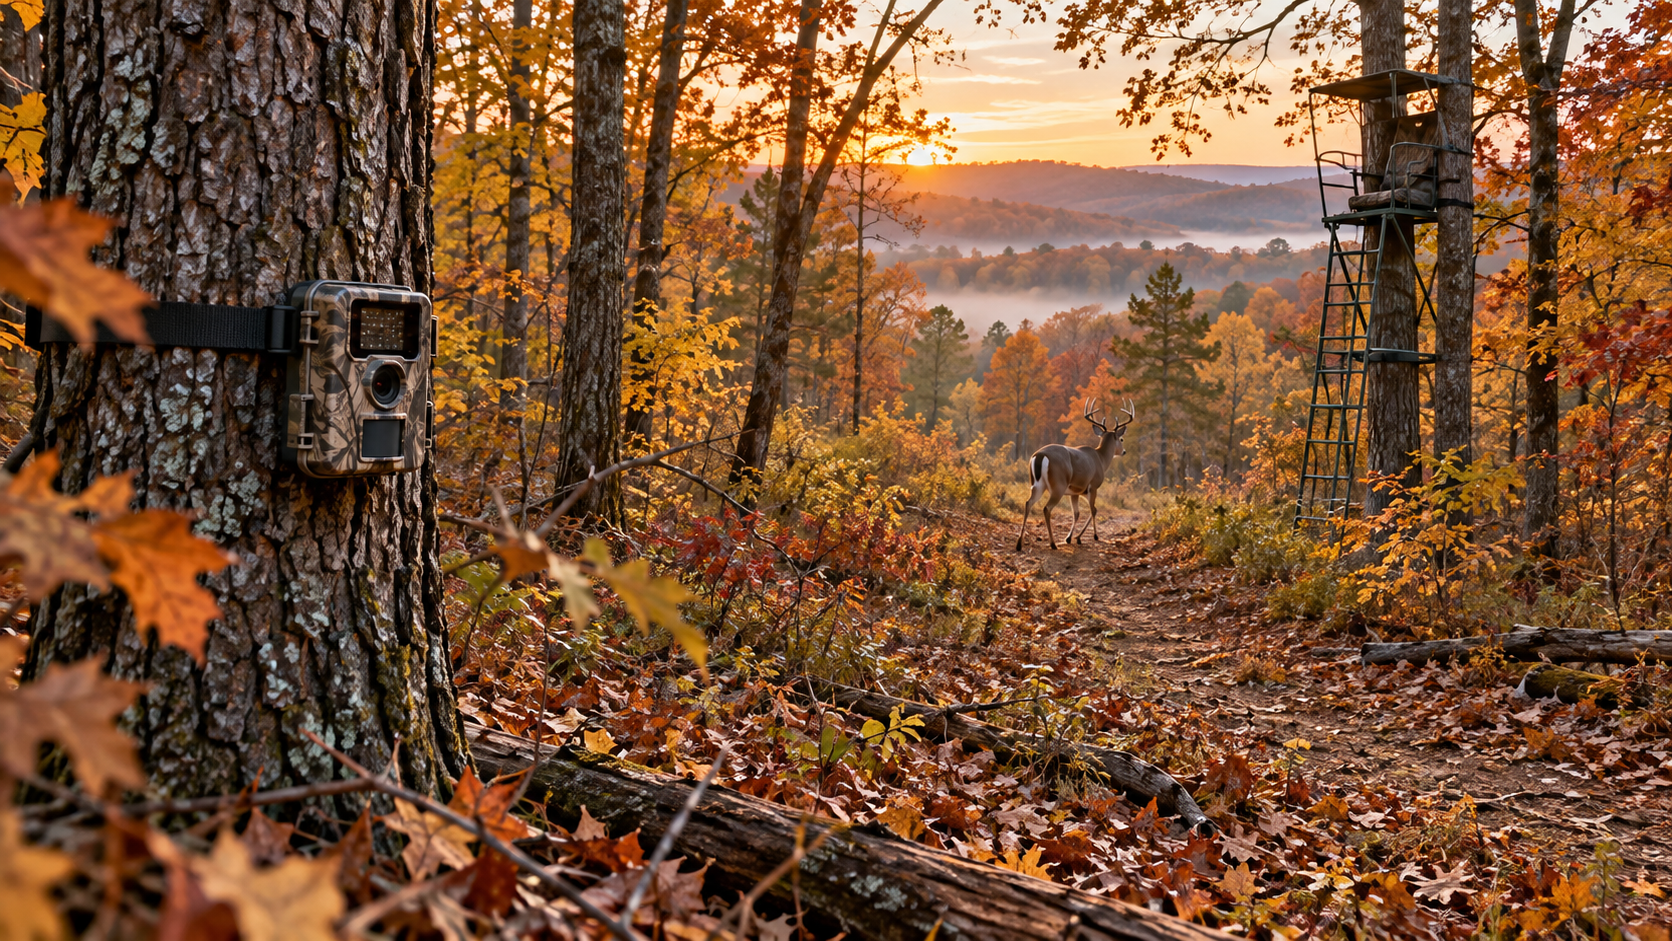
Trail camera placement and stand placement are really the same decision made twice. Put your camera on the travel routes deer actually use, and the data it gathers tells you exactly where to hang your stand next.
Get the height, angle, and location right on your camera, and you get clear, usable photos instead of a card full of grass shots and deer rumps. Get the location right on your stand, and the intel your camera collected actually turns into a shot.
Camera height, angle, and direction
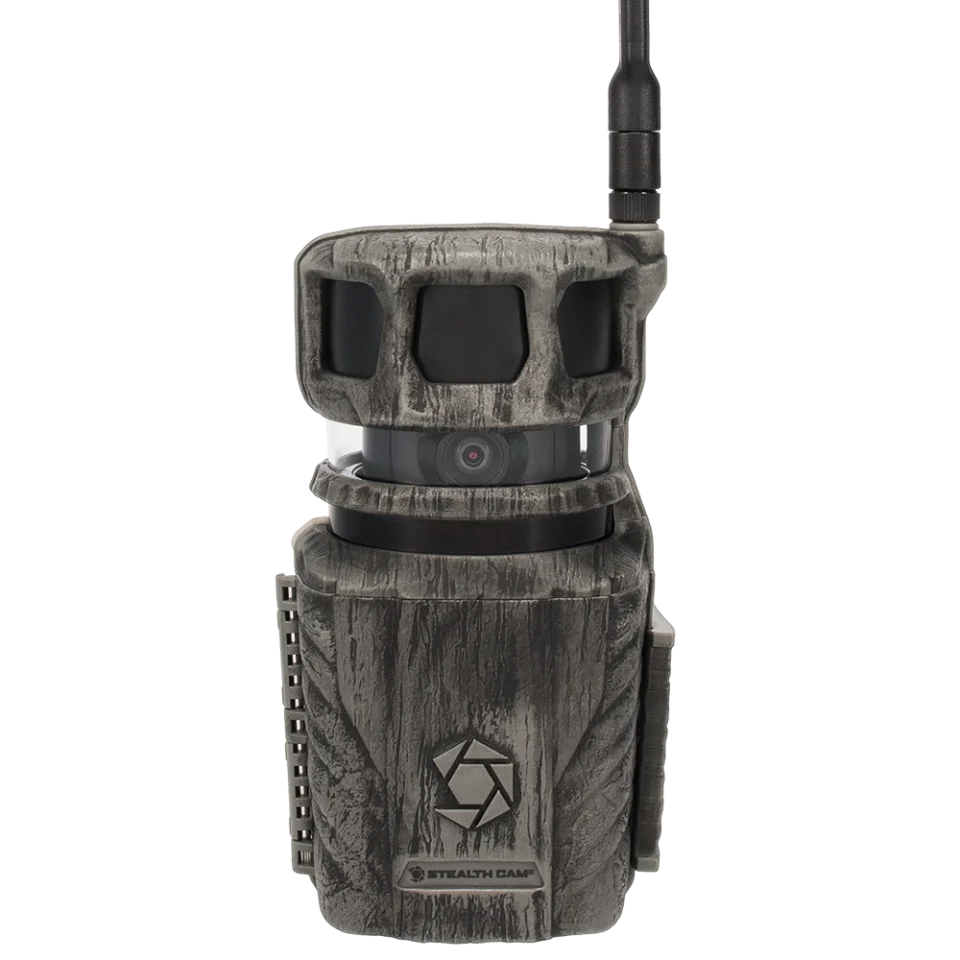
Mount your camera three to four feet off the ground for most deer trails. That height lines up with a deer's chest and triggers the motion sensor reliably, without catching mostly legs or empty frames. Drop down to two and a half to three feet if you are watching a scrape line specifically, since deer work scrapes low to the ground.
Angle the camera about 45 degrees to the trail rather than pointing it straight across. A diagonal angle gives a moving deer more time inside the frame before it walks out of the shot, which means more usable photos per pass. Set the camera back 10 to 15 feet from the trail itself so the field of view is wide enough to catch the whole animal.
Face the camera north whenever the terrain allows it. A north-facing lens keeps direct sun out of the shot all day, which prevents the washed-out white photos and false triggers that come from shifting light. Never point a camera due east or west, since the rising or setting sun will blind the sensor right during the morning and evening hours deer move most.
Where to place cameras by season
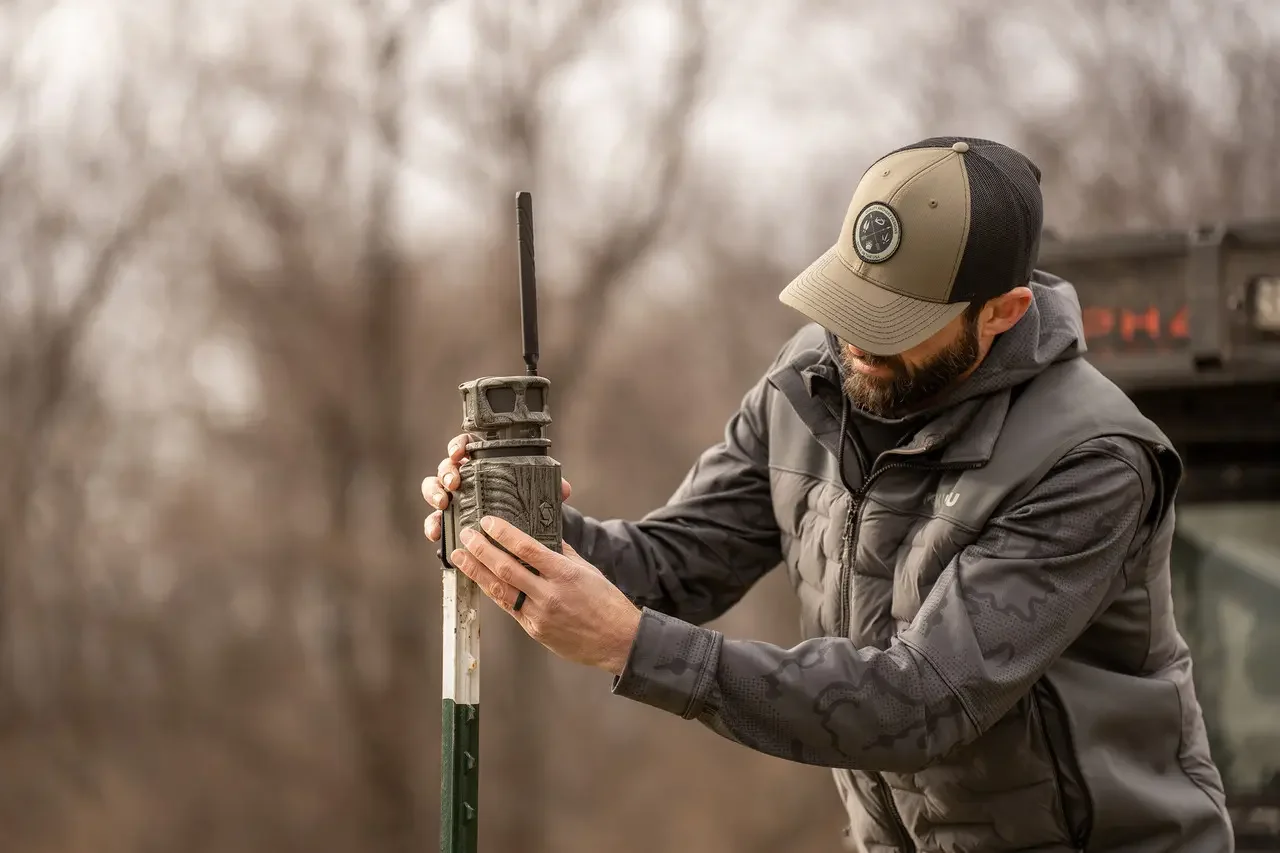
Camera strategy should shift as the season moves, and Louisiana's early archery opener means this shift happens fast.
Late summer. Deer are still on a predictable bed-to-feed pattern. Cameras on water sources and food plot entrances catch the most consistent daily movement before bucks start breaking patterns for the rut.
Pre-rut and rut. Move cameras to funnels, pinch points, and active scrapes where bucks are scent-checking licking branches. This is also when camera data becomes most useful for last-minute stand adjustments, since buck movement changes fast once it starts cycling.
Late season. Shift cameras back to the food sources and thick bedding cover that are still holding deer once pressure has thinned out the herd.
Letting camera data decide your stand location
A trail camera is only as useful as the decision it leads to. Once you have a week or two of photos from a location, look for the pattern: what time deer are moving through, which direction they are traveling, and whether wind direction lines up with a stand site nearby.
The stand type you choose changes how close you can set up to that pattern. Our guide to climbing stand vs. box blind vs. tripod breaks down which stand fits which terrain, but as a rule, a climbing stand lets you set up tight to a funnel a camera just confirmed, while a box blind works better set back from a food source you have been watching for weeks. Whichever stand you choose, make sure it is inspected and safe before you climb. Our deer stand safety checklist covers what to check before the first sit of the season.
Before you hang either one, browse our trail camera selection or check out our cellular camera lineup if you want photos sent straight to your phone without walking in and disturbing the area. And once your camera confirms a pattern, browse our full deer stand selection to find the right stand for that specific spot.
Common mistakes that ruin camera data
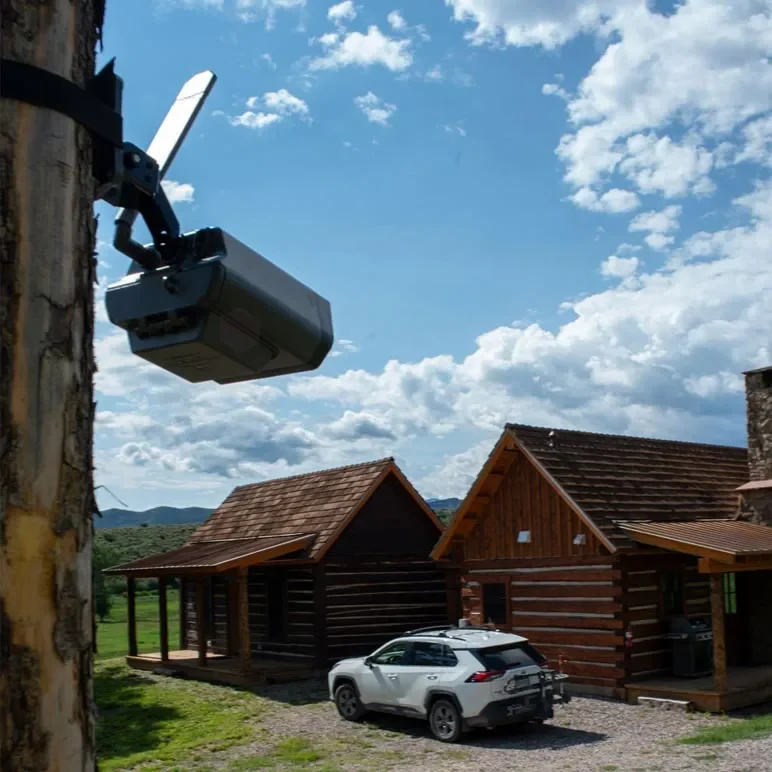
Checking cameras too often. Every trip leaves scent behind. Check cards every two weeks or less if you are using a standard camera, or switch to a cellular model so you can pull photos without ever walking to the site.
Placing cameras right on the trail. A camera aimed straight across a trail catches deer for a split second before they are gone. Set back and angled, the same deer stays in frame far longer.
Ignoring wind at the camera site. The same wind considerations that matter for stand placement matter for cameras too. A camera set in a spot where your scent regularly blows across the main trail will change deer behavior in that area over time.
Frequently asked questions
How high should a trail camera be mounted?
Three to four feet off the ground works for most deer trail activity. Drop to two and a half to three feet for scrape-line cameras, since deer work scrapes closer to the ground.
What direction should a trail camera face?
North whenever possible, since it keeps the sun out of the frame all day. Never point a camera directly east or west, where the rising or setting sun will wash out photos during peak deer movement times.
How often should I check my trail cameras?
Every two weeks or less with a standard camera to limit scent disturbance. A cellular camera lets you check photos remotely without walking in at all.
Can trail camera placement help me pick a stand location?
Yes. A camera that consistently shows deer moving through at a certain time and direction is telling you exactly where and when to hunt. Give it at least a week or two of data before committing to a stand site.
Get your camera out before opening weekend
Stop by the shop in Columbia or call us, and we will help you pick the trail camera that fits your property and how you hunt.


